

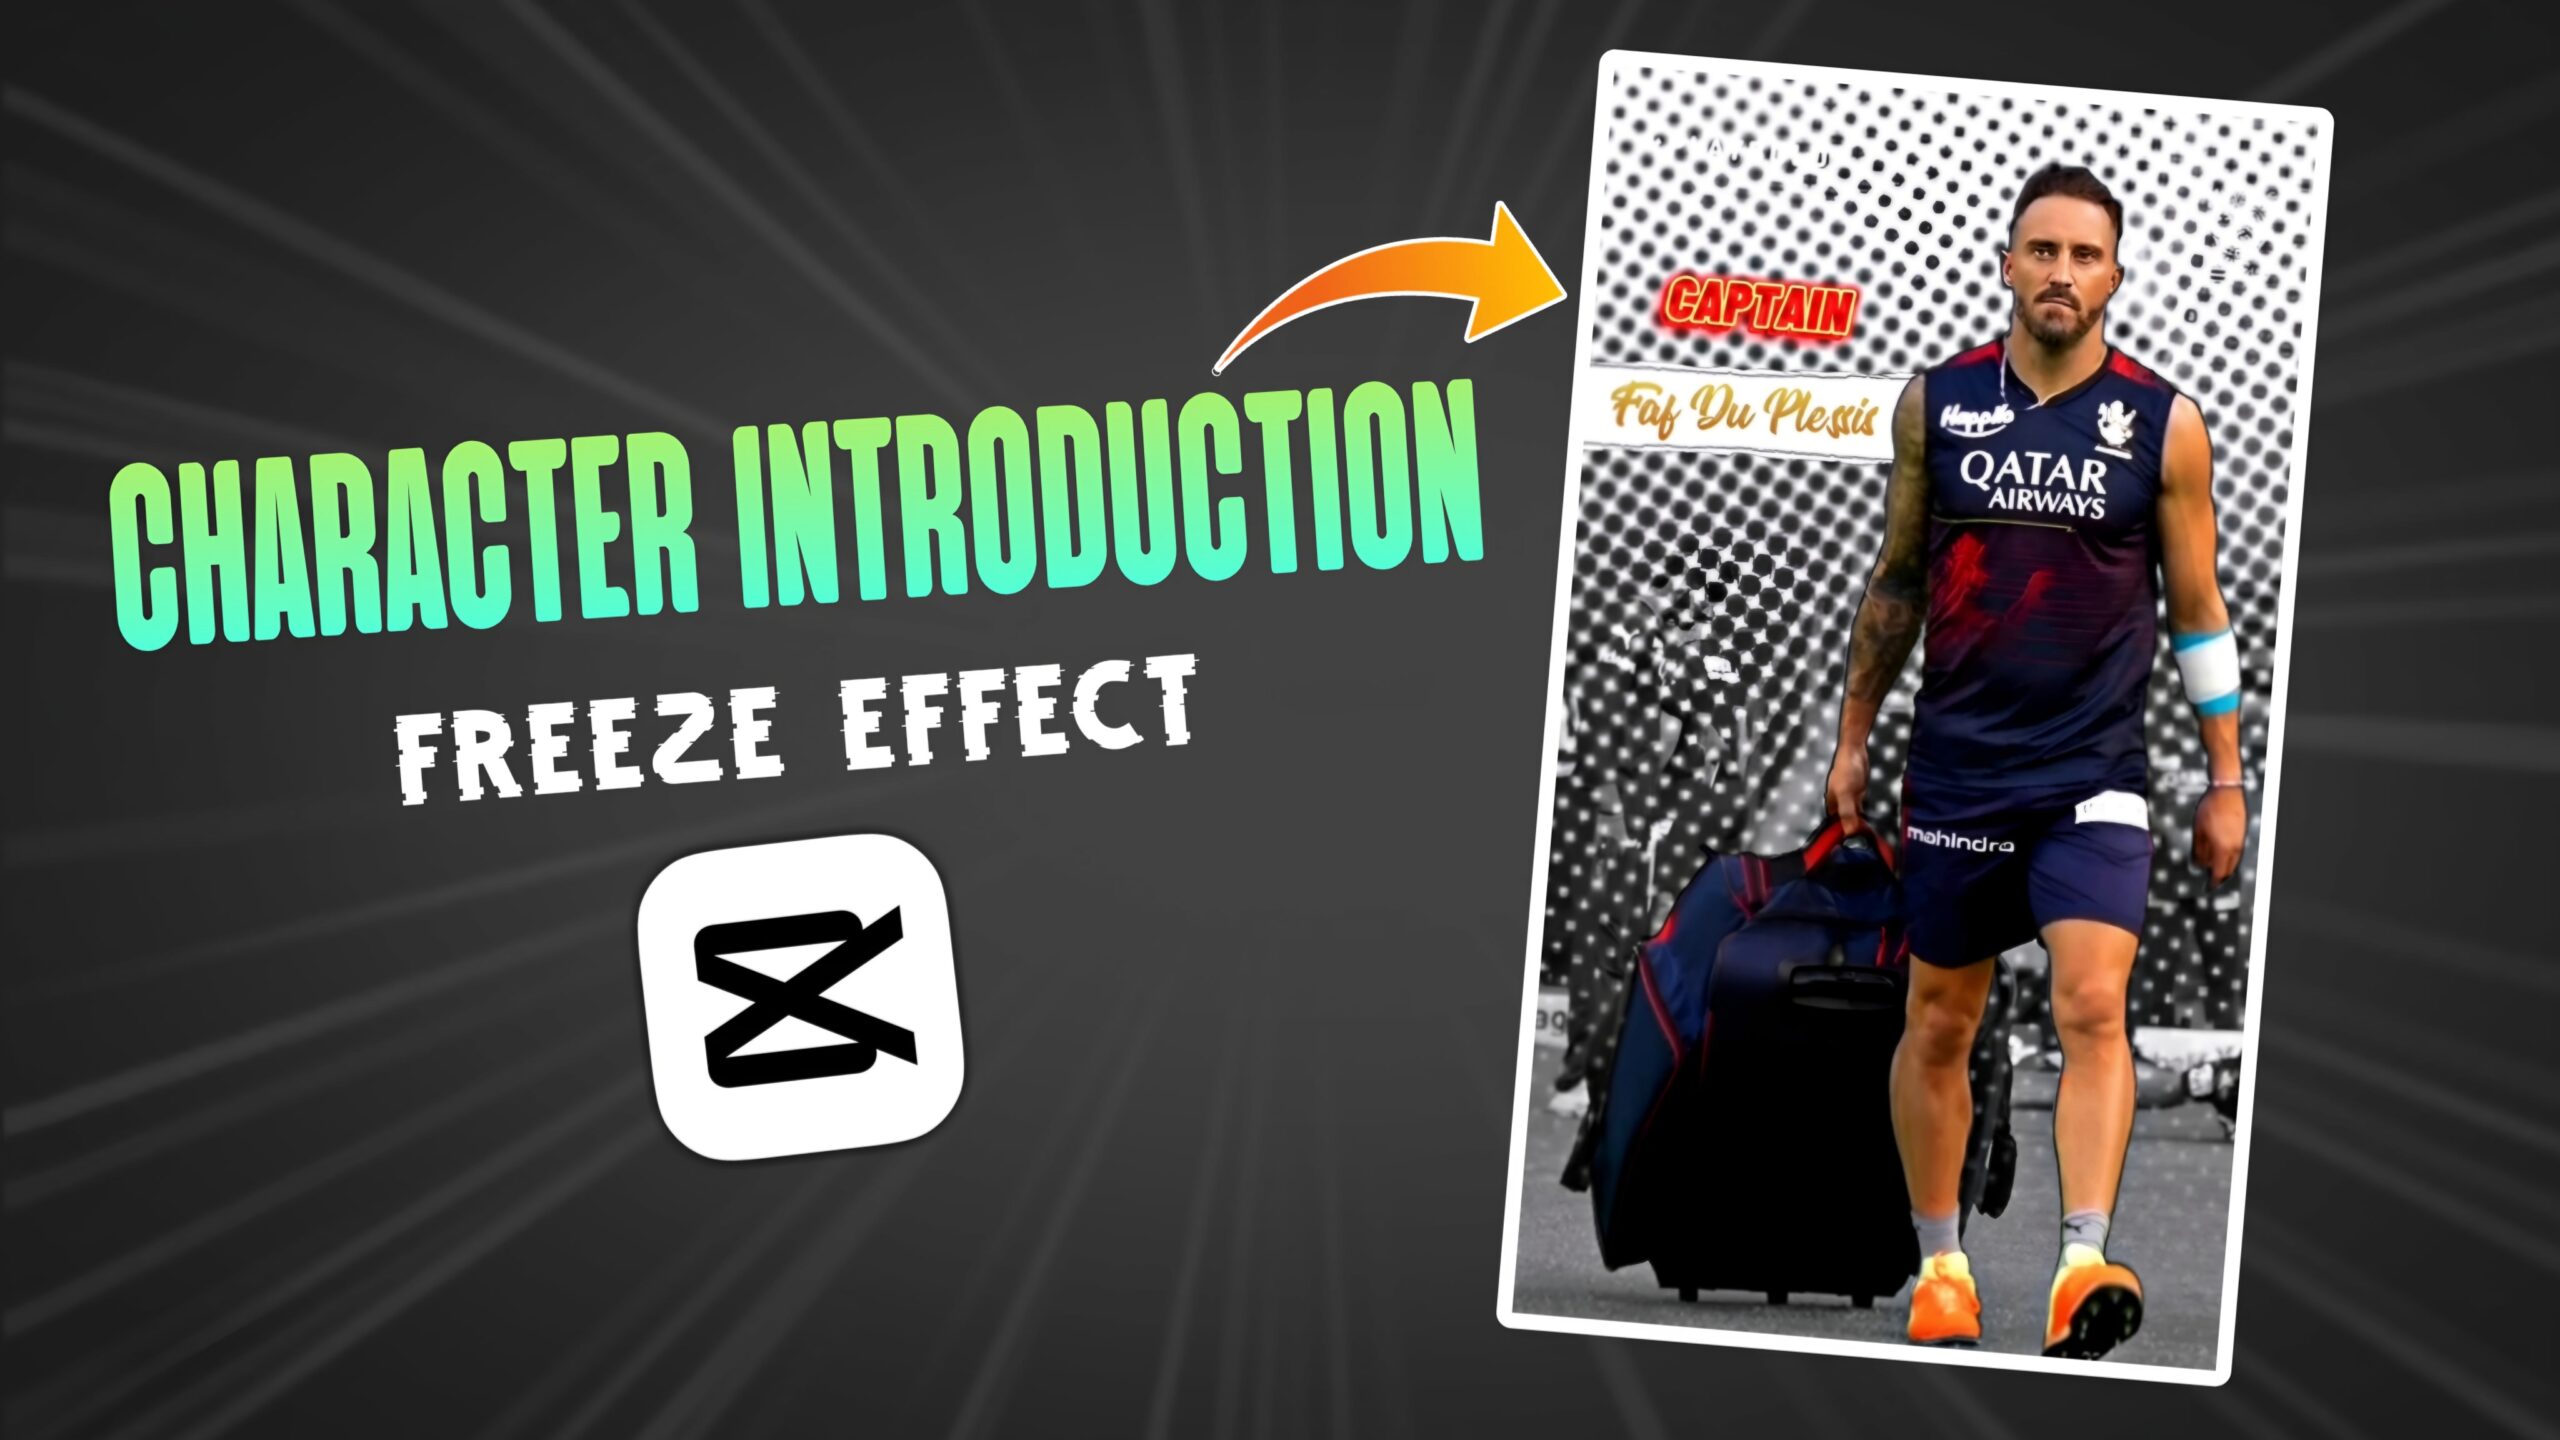
Character Introduction Freeze Frame Effect
Hello Guys, Welcome to Our Website Poser Editz. I Know Everyone of us Watches Movies, The Most Fascinating thing we wait for is the Actor/Actress Intro, After We entered into the Digital Editing world, We started to see Feel it more Fascinating due to the Editing Manipulation in Actor/Actress Character Intro. An Actor/Actress Intro is the Most Vital Part for any of the Film Editor. If he get’s it good, he get’s the Praises from Viewer’s, Film Director, Producer..
A Character Intro introduces us the Character with the Name of that Particular Character. If you Create an Eye-Catchy Character Introduction Freeze Frame Effect, then you should have won Half the Game. What it does is, it just Freezes the On-Playing Video and just Pop’s up the Name of the Character with Some Nice Effect’s.
So, In this Article, I will be Sharing my Knowledge on how to Create or Edit The Most Eye Catchy Trending Character Intro for Your Video’s very easily using the mobile application named Capcut. I will be Guiding you Step by Step with Screenshot’s to help you understand it Better. All you need to do is just to Follow the Step’s Carefully. Visit our partners, – leaders in fashionable footwear!
HOW TO CREATE A CHARACTER INTRO FREEZE EFFECT
STEP BY STEP PROCESS:
Step 1: Open the Capcut Application.
Step 2: Click on New Project and Choose the Video on which you wanna Create Character Intro Freeze Effect.
Step 3: Now, Place the PlayHead at Where you want to create that Freeze Effect, and then Scroll the Menu Bar to the Left, there You will Find an Option Called “Freeze“. All you need to do, is Just Click on it.
Step 4: By Default, it will Freeze that Particular Frame for about 3.0 second’s. Increase/Decrease the Duration of the Freeze according to your need’s.
Step 5: Then, Place the PlayHead on the Freezed Clip and Just Screenshot the Image.
Step 6: Open the Screenshot Image in Picsart Application and Just Remove the Background of it, by Clicking on Remove Background.
Step 7: Then Head Back to Your Project File in Capcut, Click on Overlay in the Menu Bar and Click on Add Overlay, All you need to do is Just Upload the Removed Background Image( which we have just removed it’s background in picsart ).
Step 8: Place the Removed Background Image exactly over the Original One.
Step 9: Now, Select the Freezed Clip and in the Menu Bar, Click on Adjust, Select Saturation and Take Down the Value all the Way Down to -50, and then Click on Ok.
Step 10: Click on Add Overlay again and Add this Half Tone Background Image. ( You can download it by clicking on the Download Button at the Bottom of this Article.)
Step 11: Fit the Half Tone Background Image to the Canvas Ratio and then Click on Layer in the Menu Bar, Select Layer 1 to Move it to Layer 1( so, that the Model Png will occupy Layer 2 Position).
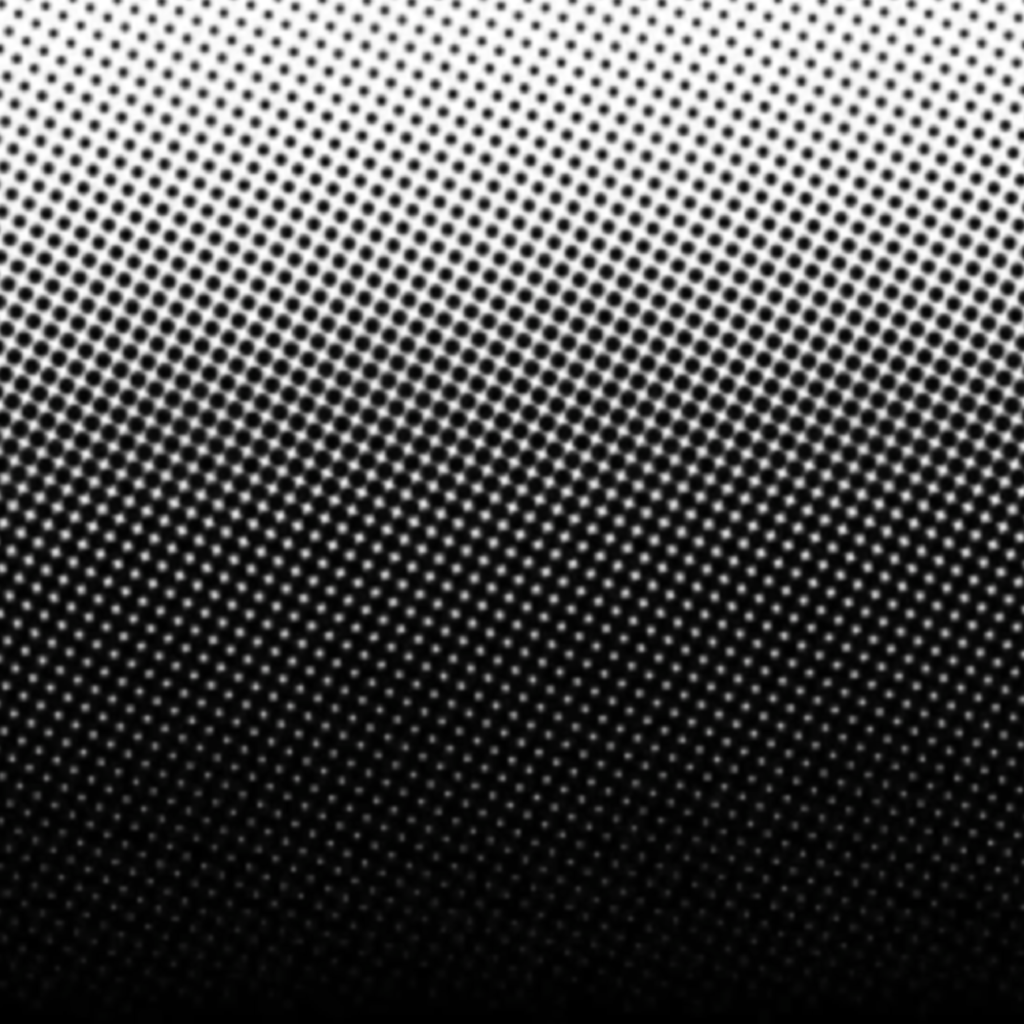
Step 12: Change the Blending Mode of Halftone Background Image to Filter by Clicking on Blend in the Menu with the Halftone Background Image Selected.
Step 13: Now, add this Text Paper Png( You can download it by clicking on the Download Button at the Bottom of this Article.) Type your Name on the Paper Png by using any of the Editing Application’s like Picsart…


Step 14: And then Adjust the Paper Png, wherever you want it to be.
Step 15: With the Paper Png Layer selected, Click on Layer in the Menu Bar and Select Layer 2 to move the Paper Png to Layer number 2, so that the Model png will occupy Layer 3 i.e; above all Layer’s.
Step 16: Now, let’s give some Animation Effect to Paper Png to Make it More Attractive/Interesting and Eye-Catchy to the Viewer’s.
Step 17: To add the Animation, Click on Animation with the Paper Png Layer selected, Select IN Animation and then Choose Slide Right Animation Effect( what it does is, it just slides your paper png to the Right Side ). You can Adjust how Long or how Slow the Animation should Play.
Step 18: If you want to Add Some Text, Click on Text and Type Whatever you like. Select the Font and Effect for the Text and Adjust the Text.
Step 19: Select the Model Png and Adjust some Basic Adjustment’s like Brightness, Contrast, Saturation, Highlight’s and Shadow Values accordingly to Create the HDR Effect on your Photo’s.
So, that’s it Guys, It’s as Simple as that.
In this way, you can Create a Character Introduction Freeze Effect on your Video’s/Reels easily by following the Step’s mentioned above.
That’s it for the Article Guys, I Hope you Learn’t something new from this Article, Thank you so much for visiting our Webiste, I really appreciate it, Hoping to see you again….
Download Background
Download Tear Paper Png
Download Tear Paper Png 2
