

Creative Dual Photo Editing in Picsart
Hello Guys, Welcome to our website Poser Editz. I am sure you might have seen a Edit which is so Called Dual Photo Edit in your Social Media Platform’s, because they are Trending on the Social Media Platform’s like Instagram, Facebook, etc….
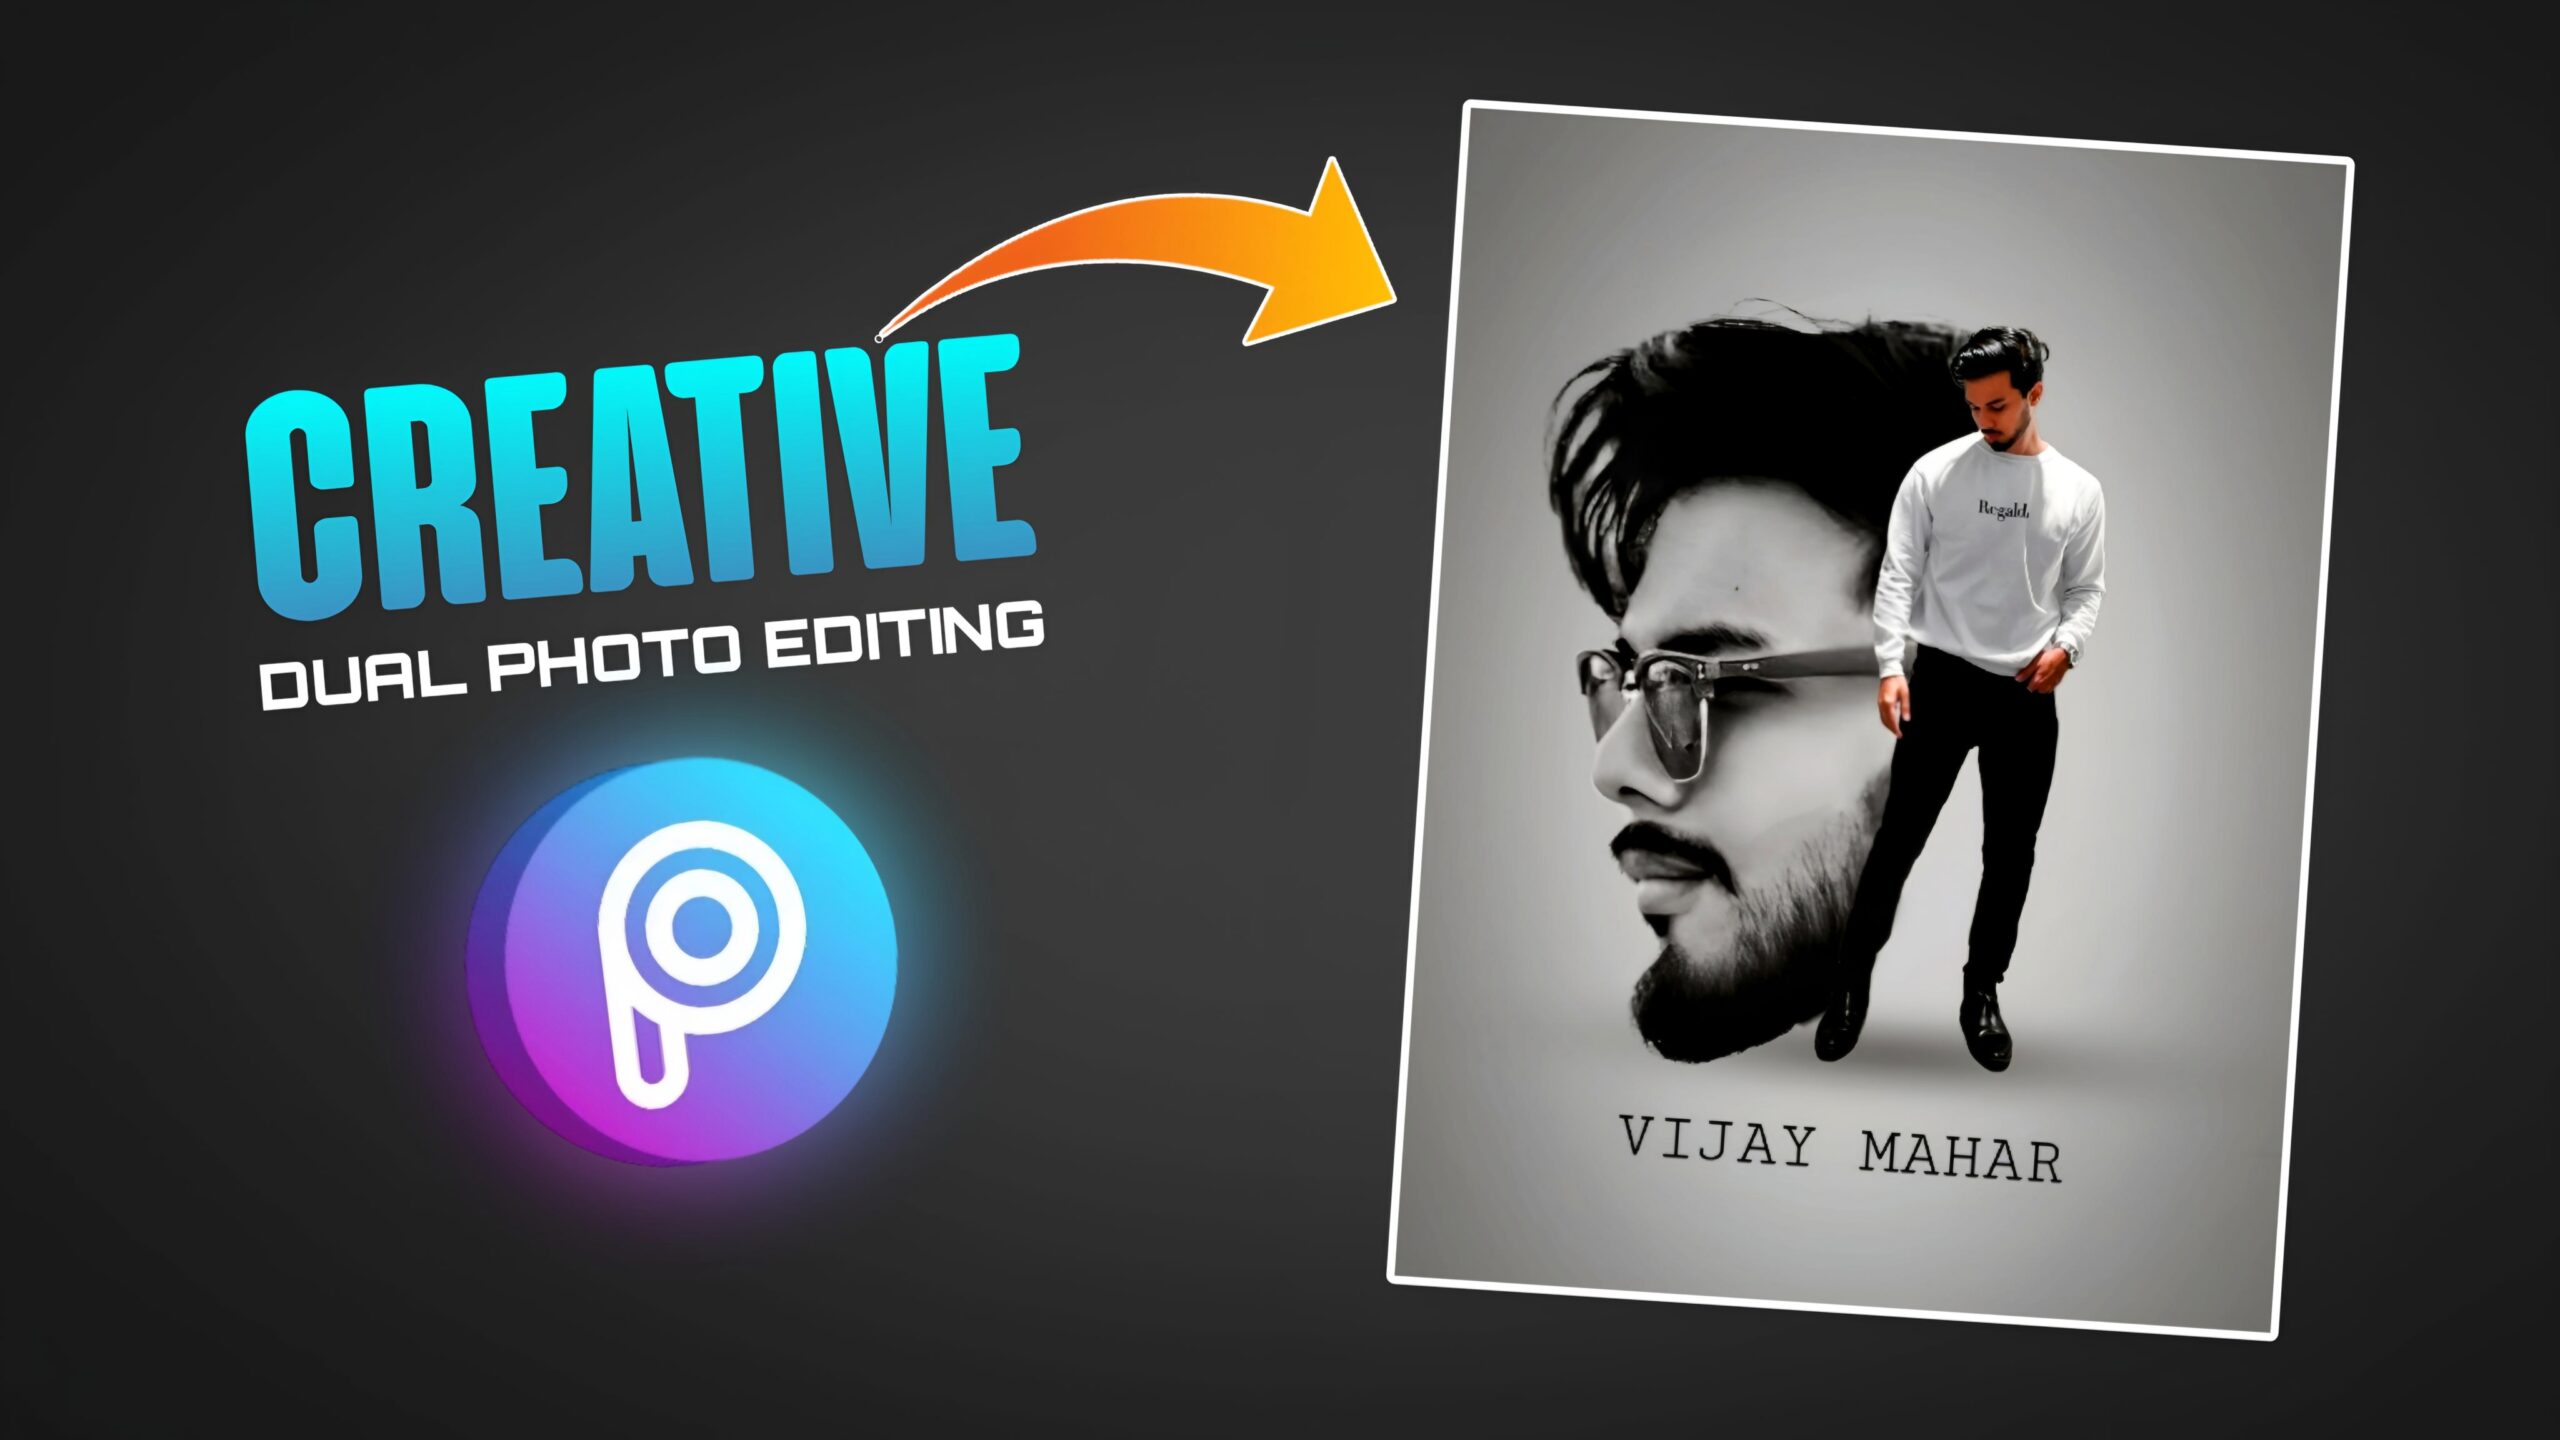
So, here i am with the Guide on how to Edit a Creative Dual Photo Editing using your Mobile Phone and also i will be Providing all the Material’s(Image’s, Background’s and Png’s) that i have used to Create an Awesome Dual Photo Edit. Dual Photo Editing is nothing but a Combination or a Blend of two image’s, one in the background and the other at the forefront. We can make the Edit look more Elegant by adding some Png’s, Text’s and Effect’s.
How to Create a Creative Dual Photo Edit
To Create the Dual Photo Editing, we are gonna use Picsart Application. ( If incase if you haven’t had picsart application installed in your mobile phone, then you can download it from playstore, which is completely for free. )
Follow the Step’s Mentioned Below Carefully to Create Your Own Dual Photo Edit:
Step 1: Open the Picsart Application.
Step 2: Open this Background Image in Picsart.

Step 3: Now, we need to add the image’s by clicking on Add Photo’s.(Select any of your two Image’s)
Step 4: Select anyone of the Image and Crop the Image in a way that only the Model Face should be Visible.
Step 5: Click on Remove BG to Remove the Background of the Image.(The Picsart AI will remove the Background itself for you Guys.)
Step 6: Adjust the Image right at the Center of the Canvas and then Place the other Image over the Face Image.
Step 7: Click on Remove BG again to remove the Background of the other Image and Place it Over the Background Face Image in a way that it should Cover Half of the Face of the Model. Adjust the Image’s Perfectly.
Step 8: Now, Select the Background Image and Click on Erase and Erase the area’s which are on the Left side of the Model.
Step 9: After Done, Click on Add Photo’s and Add the Shadow Png, Place the Shadow Png over the Feet of the Model and Move the Shadow Layer behind the Model. ( Adjust the Shadow Opacity accordingly to make it look realistic. )

Step 10: Now, again Click on Add Photo’s and Add the Vignette Background Png, Fit it to the Canvas Ratio and Move it all the way down( Behind all the Layer’s). Adjust the Opacity according to your need’s.

Step 11: For the Final retouching, Click on Fx and add Some Effect’s which Look Good on the Image.
That’s Pretty Much It Guys, I Hope you Learnt something new from this Tutorial.
Thank you so much for Visiting our website Guys, I really appreciate it and Hoping to see you again..
Download the Png’s from Here:
Download Background
Download Shadow Png
Download Vignette Background Png
