

How to Add Customs Fonts in Picsart Mobile
As we all know Picsart is a popular mobile editing application, specially designed for mobile users. Using this application we can create photo manipulations, aesthetic edits, remove background of the image, color grading and many more functions…with ease.
Even the amateur person can edit photos without any difficulty. That’s the reason why many people use this software. This is a go to application for many of the photo editors like me.
In Picsart applicaton, we have Text tool, which is offcourse used to type the text’s. By default Picsart will provide some basic fonts for the texts. But, what if you want to make your text look attractive, then you gotta use some stylish attractive fonts for the text. so, in order to apply the stylish attractive font to your text, first you need to download the fonts from the web and then you can upload the downloaded fonts to picsart application and you can use them on your text’s.
So, today in this article, I’ll show you how to download and add the Custom Font’s in Picsart application with screenshot to help you understand it better. so, let’s learn.
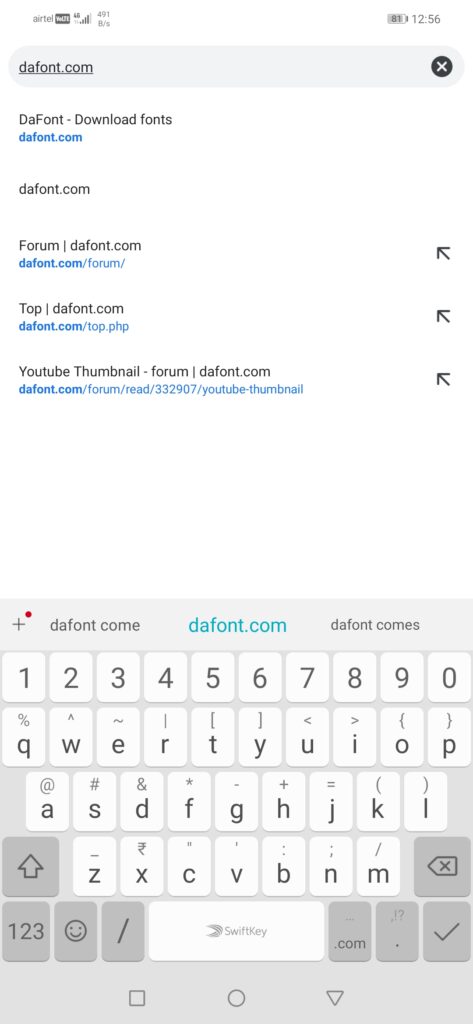
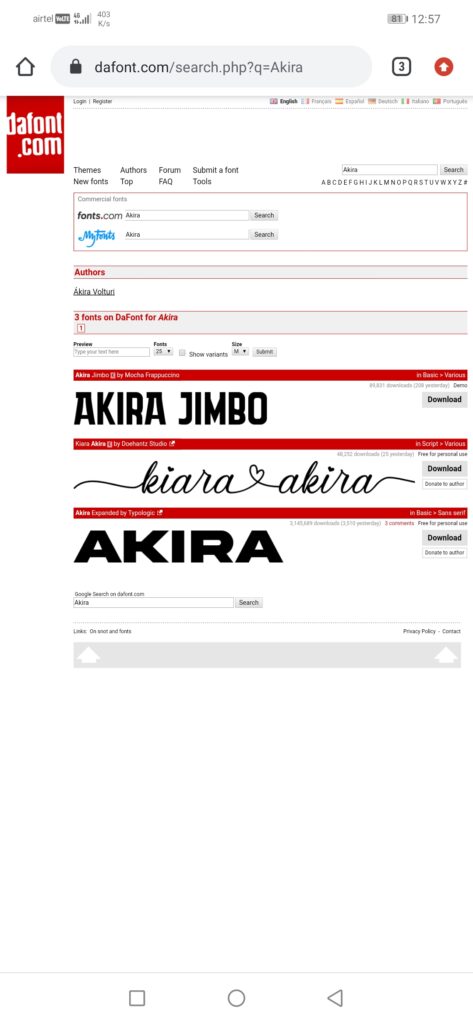
Step 1: Open your Web Browser and search for Dafont.com
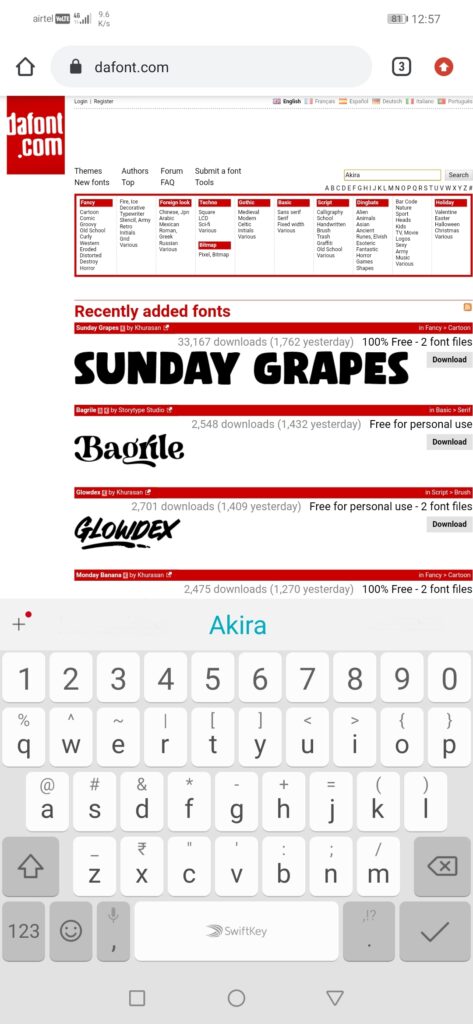
Step 2: After visiting the dafont website, click on search bar and search for whatever font you like
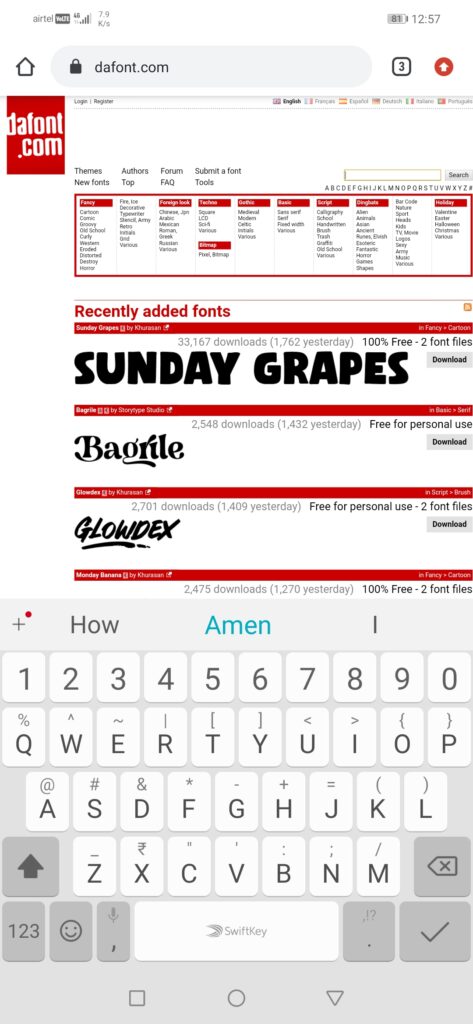
Step 3: And then the font will pop up on the screen
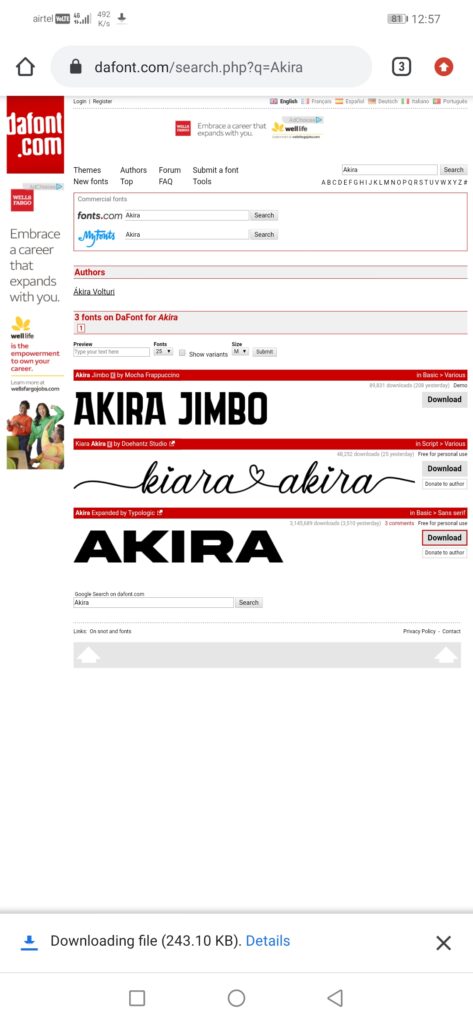
Step 4: Beside the font, you will be able to see the Download option, click on the Download button to Download the Font.
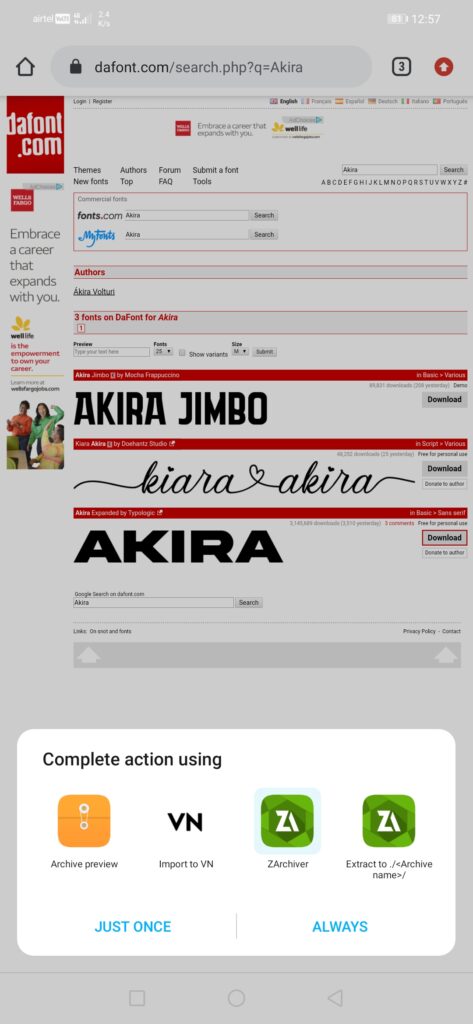
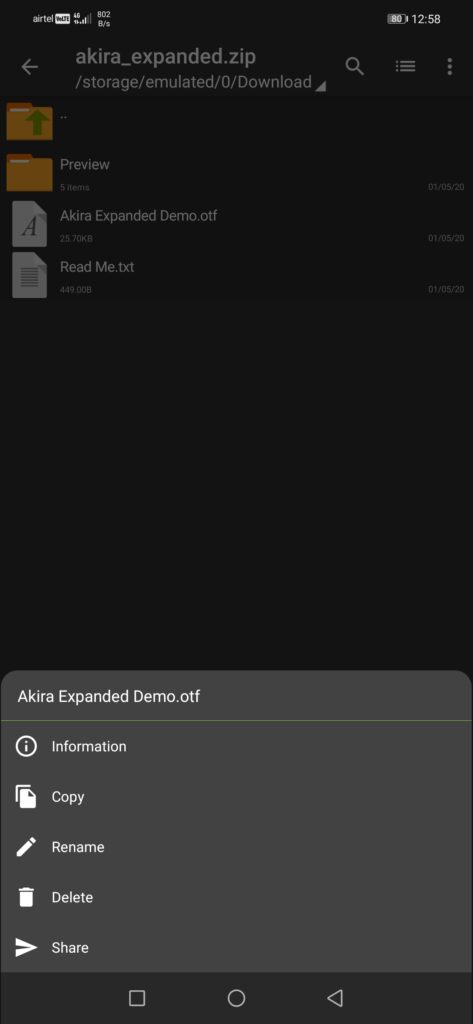
Step 5: After Downloading, click on open and select open with Zarchiver( YOU NEED TO HAVE ZARCHIVER APP INSTALLED IN YOUR MOBILE)
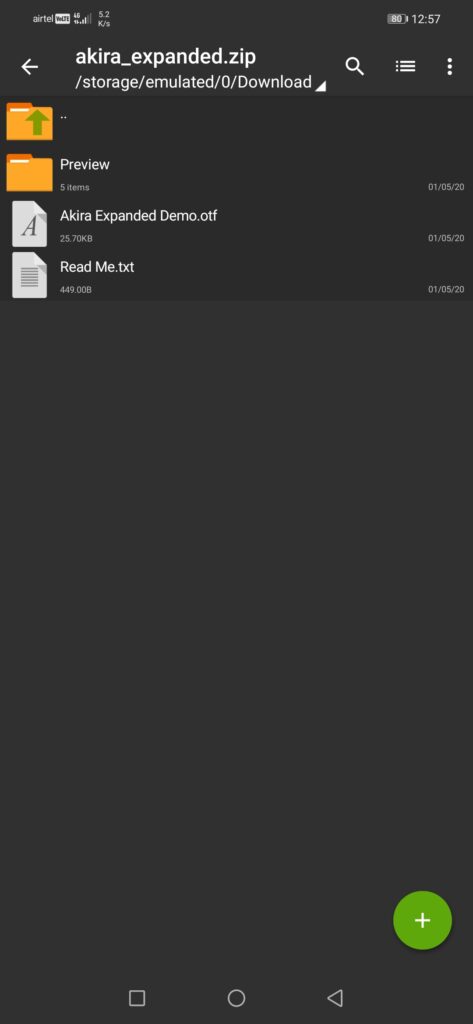
Step 6: Now copy the .otf/.tff file
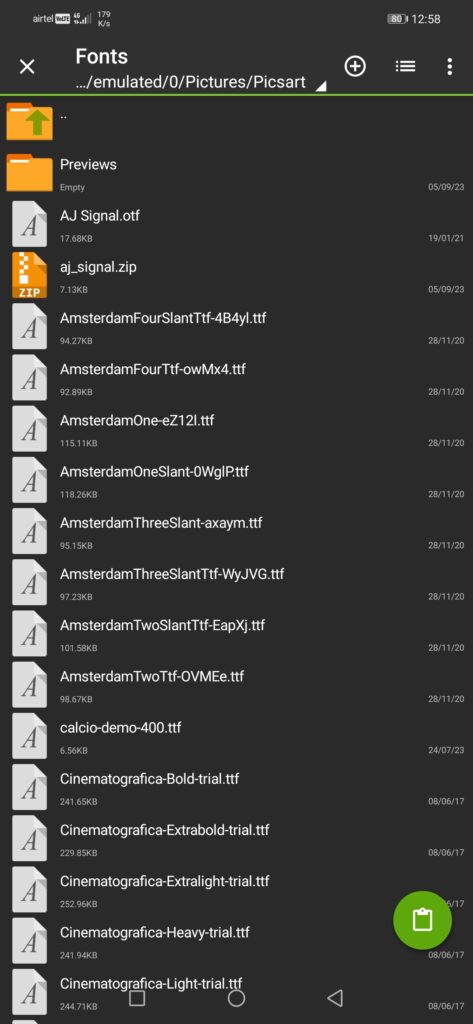
Step 7: Go to the Picsart folder

Step 8: Select the Fonts folder & just paste the font’s over there by clicking on the pad icon at the bottom right corner.
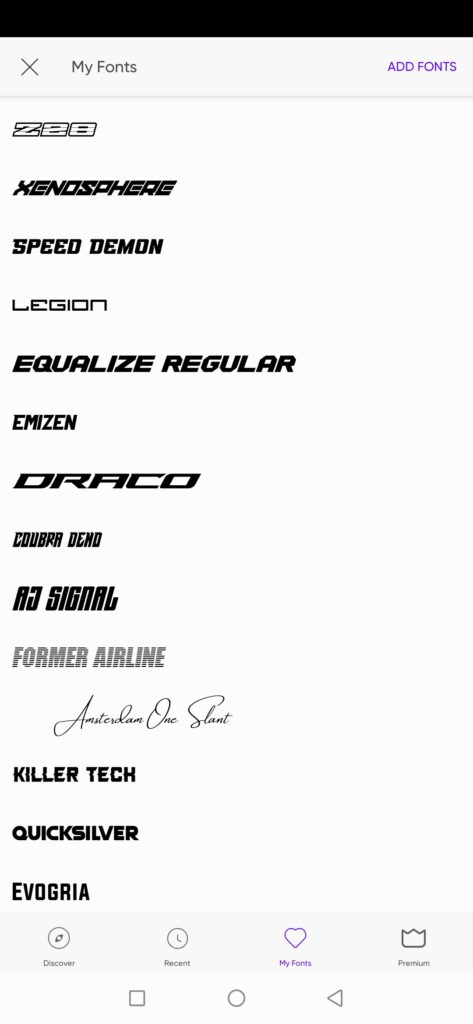
Step 9: To import the Font’s in Picsart, Open Picsart Application

Step 10: Type some text and go to My Font’s section and click on Add Fonts
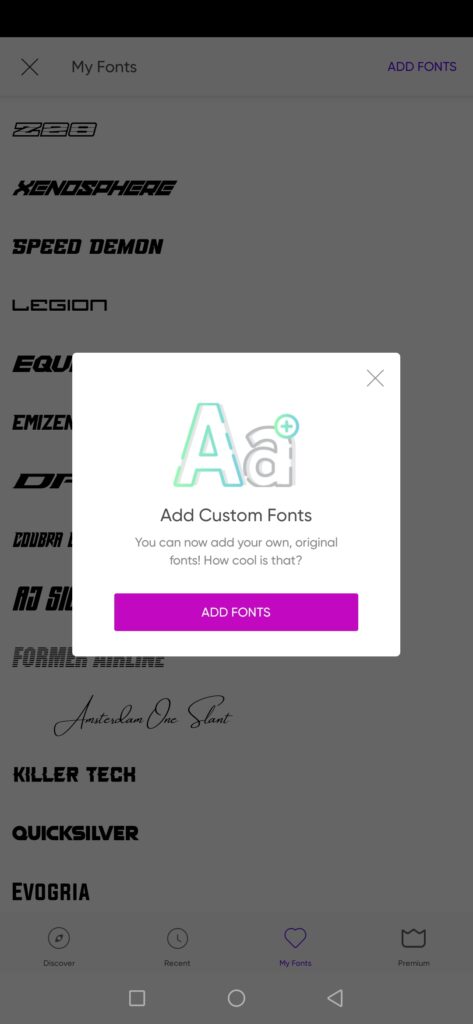
Step 11: Now, select the Font’s from the Picsart Font’s folder

Step 12: And that’s it, your font will be added.
So, this is how you can easily Download and Import Customs Fonts in Picsart application.
I hope you guys learnt something new from this article.
Thank you so much for visiting our website, I really appreciate it, see you again…
