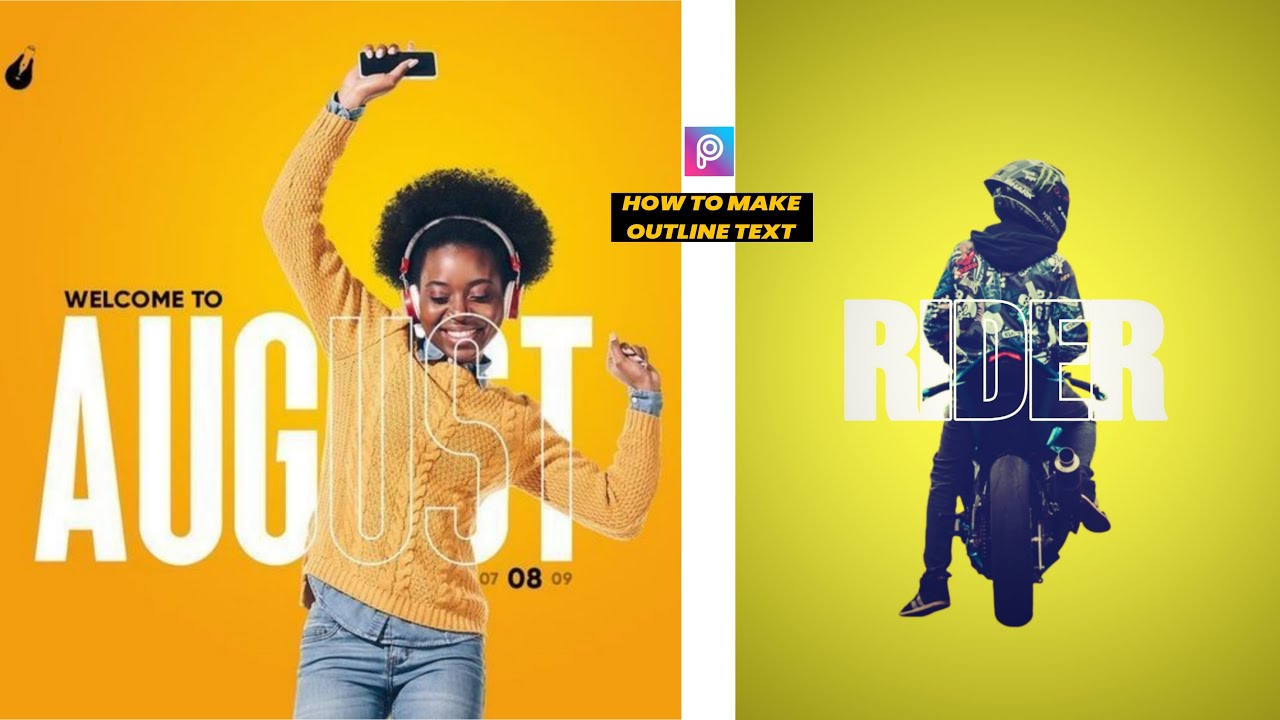
How To Create Outline Text Effect
Hello Guys, Welcome to our Website Poser Editz. In this Article, I will be Sharing my Knowledge on how to Create a Outline Text Effect easily using the Picsart Application Step by Step using the Screenshot’s to help you Understand Better.
Nowadays Editing is the Most Powerful and Important Aspect to Get the Audience Attention. Many of the Talented Creator’s/Editor’s have Taken Editing to the Very Next Level, Using the Newly Technological Application’s like Photoshop, Premiere Pro, Picsart, etc……
Outline Text Effect brings Attractive and Eye-Catchy Look on your Text. You can also create one alike by following the Steps down below.
By adding the Text Outline Effect to your Text gives an Attractive and Stylish Look to your Text.
Follow the Steps below to Create a Text Outline Effect by Using the Picsart Application.
Steps to Create Outline Text Effect
Step 1: Open the Picsart Application.
Step 2: Choose any Background you like.

Step 3: Add Your Model Image.
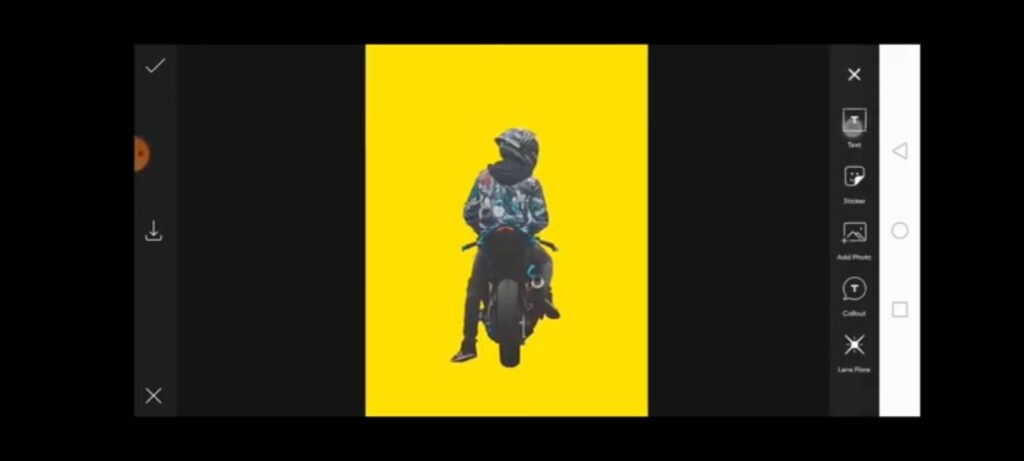
Step 4: Click on the Text Icon and Type the Text.
Step 5: Position the Text over the Model.
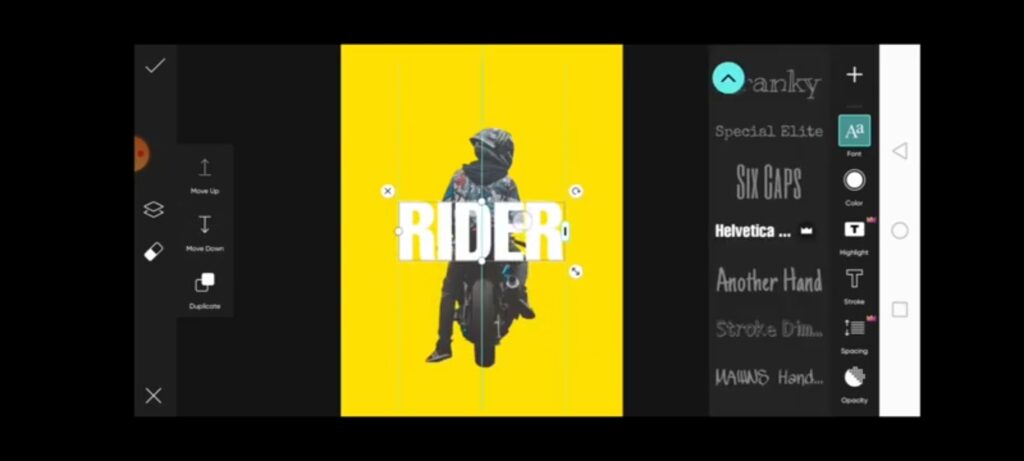
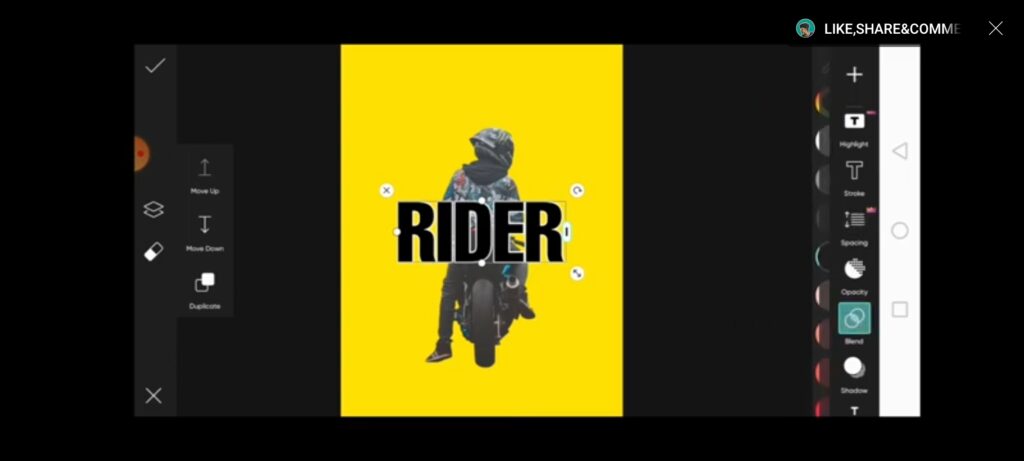
Step 6: Click on Duplicate to make a copy of the Text.
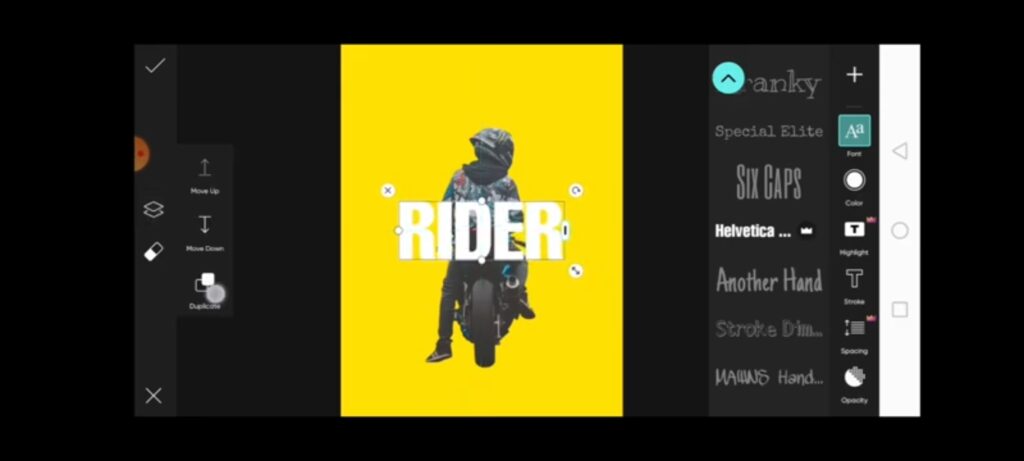
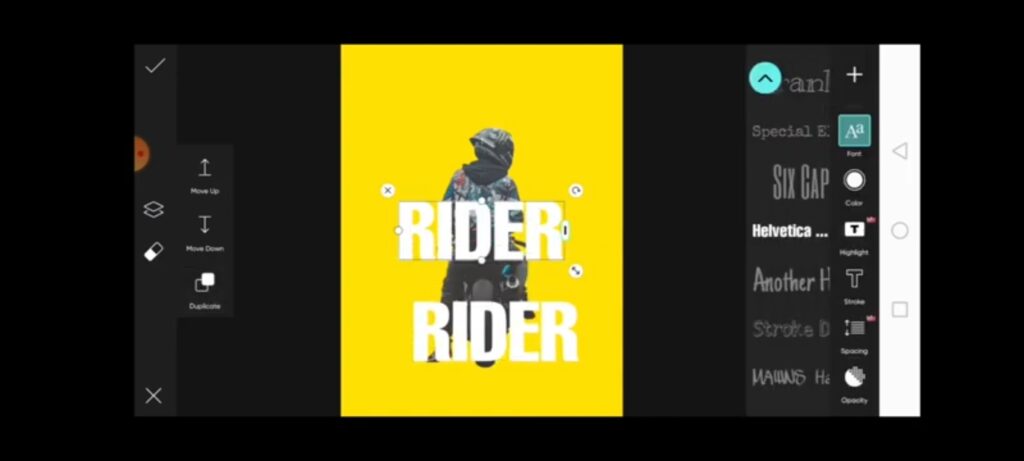
Step 7: Select the Original Text and Move it Down behind the Model.
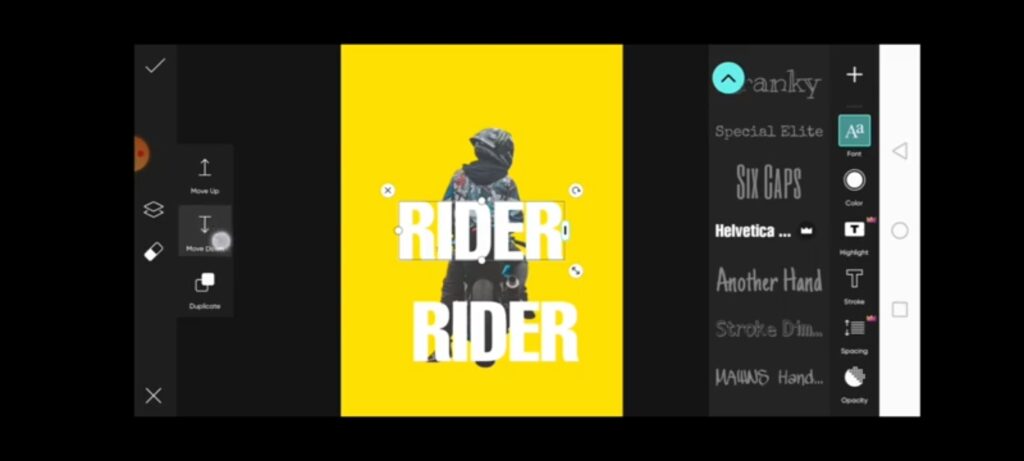
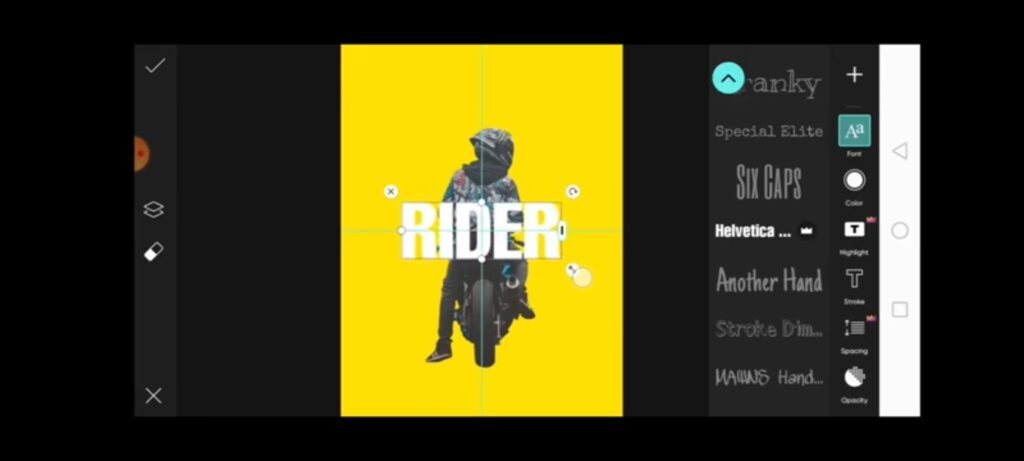
Step 8: Now, Place the Duplicated Text exactly on the Original Text.
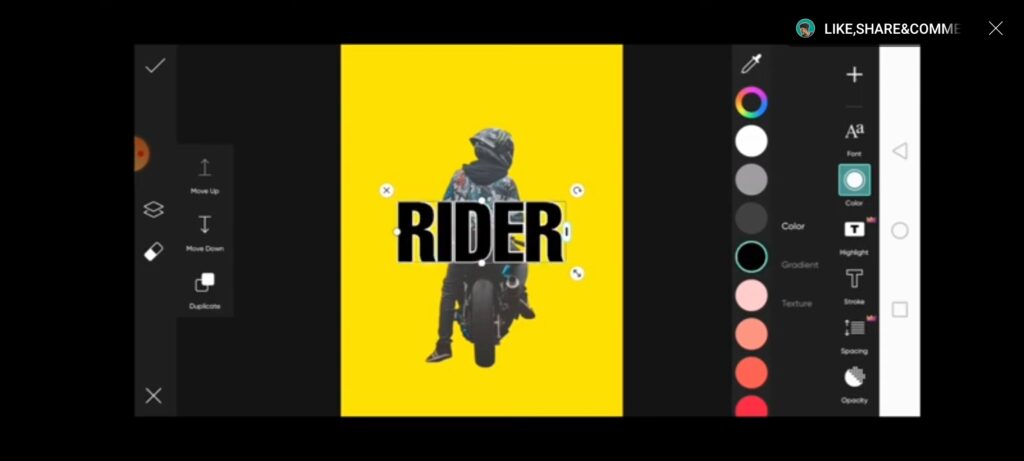
Step 9: Select Duplicated Text Color to Black.
Step 10: With the Duplicated Text Selected, Click on Blend and Change it’s Blending Mode to Screen.
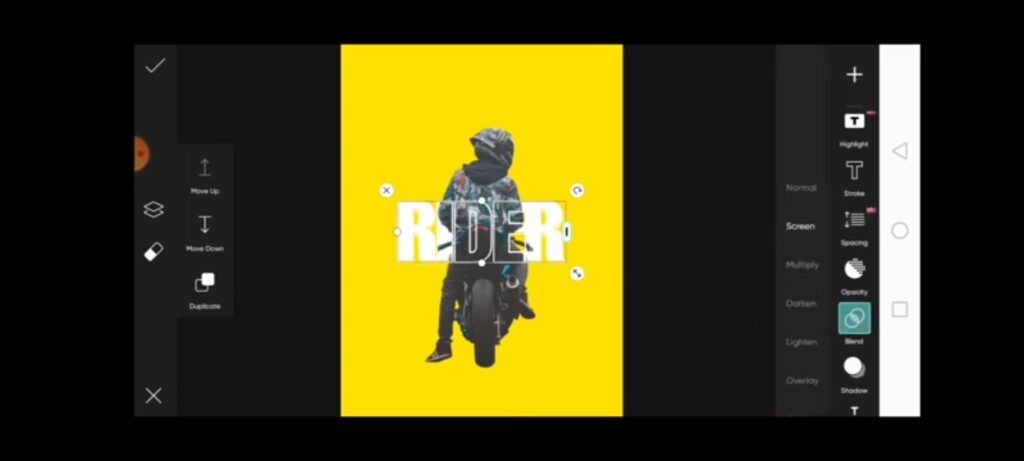
Ya We’re Done, This is the Final Output Guys, I Hope you Like it.
So, In this way, you can easily Create Outline Text Effect using the Picsart Application.

