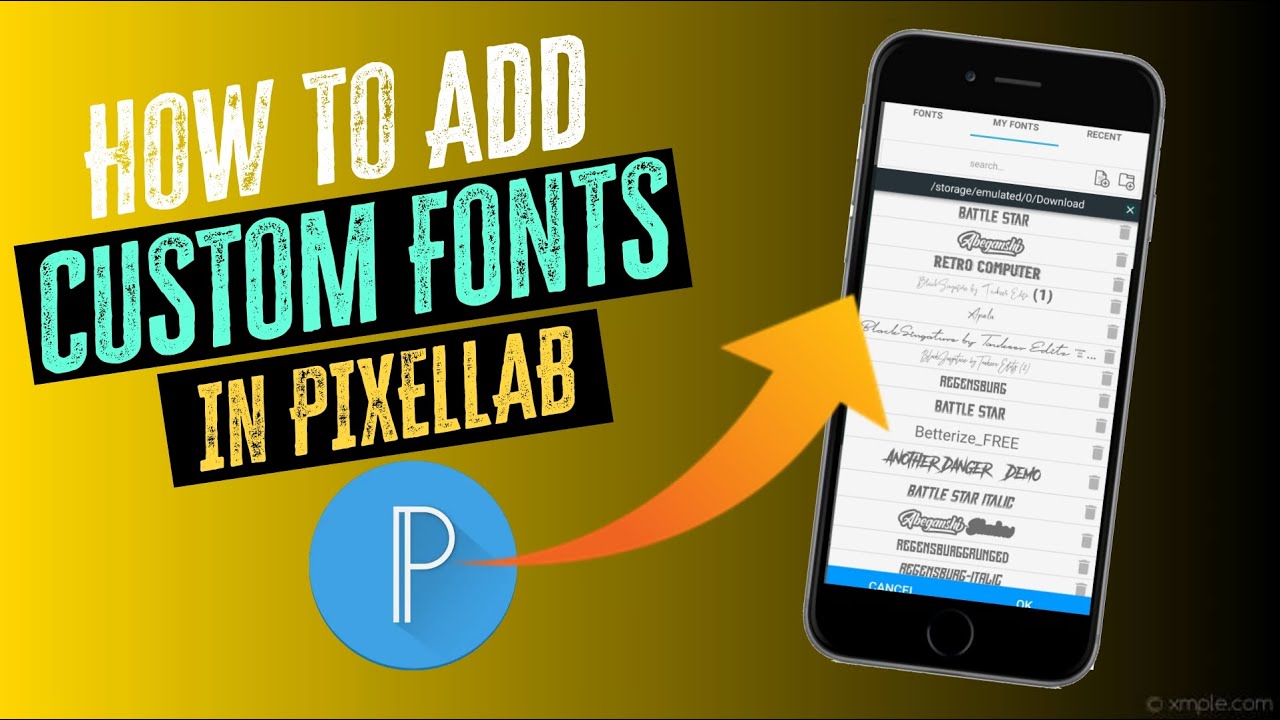
How to Add Custom Font’s in Pixellab
Pixellab is one of the Most Popular Photo Editing Application, especially designed for Mobile User’s. Pixellab is most commonly used application by Many of the Professional Photo Editor’s as well as Photo Enthusiast’s. It allows the user to Create Basic to Advanced Level Photo Editing, it also allows the user to Create Professional Logo’s with Advanced photo editing tools and feature’s. It is a user friendly Photo Editing application, even the newbie doesn’t find it difficultly, while operating this application.
By using this application, you can easily create a Professional Edit or a Logo for your Business. Pixellab provides a tool named Text, which is used to Type your custom Text, by default the Pixellab provides few basic Font’s. But, the question arises here is, what if we want to Import a Stylish Custom Font which you have downloaded from the net. So, the answer for that Question is, Yes. Yes, we can Import our Custom Font’s in Pixellab.
How to Import Custom Font’s in Pixellab.
Follow the Step’s below Carefully to Download and Import the Font’s in Pixellab application.
Step 1: Download the Font you like from Font’s Website, like Dafont Website.( There you can download many Good Looking Font’s for Free. )
Step 2: Open the Downloaded Font in Zarchiver application, Copy the otf/tff file and paste it in Pixellab Font’s Folder.
Step 3: Then, Open the Pixellab application. Click on Text and Type the Text.
Step 4: Now, Select Font Section in the Menu Bar and then Select My Font’s, there you can see Add Font Icon, Just click on it and Open the Folder in which you have just pasted the Downloaded Font’s.
Step 5: Select the Font that you would like to Import. And that’s it your Font will be Imported to Pixellab. Now, you can use the Font to your Text.
It’s that simple Guys, in this way, you can easily Download and Import the Custom Font’s in Pixellab Application.
I hope this Article is Helpful for you Guys, Thank you so much for visiting our website Guys, see you again…


